Hey guys starting a new project for a video series I'm Doing for Plamocon.com. It is the MG 00 Raiser. Probably going to end up with a different color scheme then the OOB colors so we will see how it turns out but here is Part 1 enjoy :)
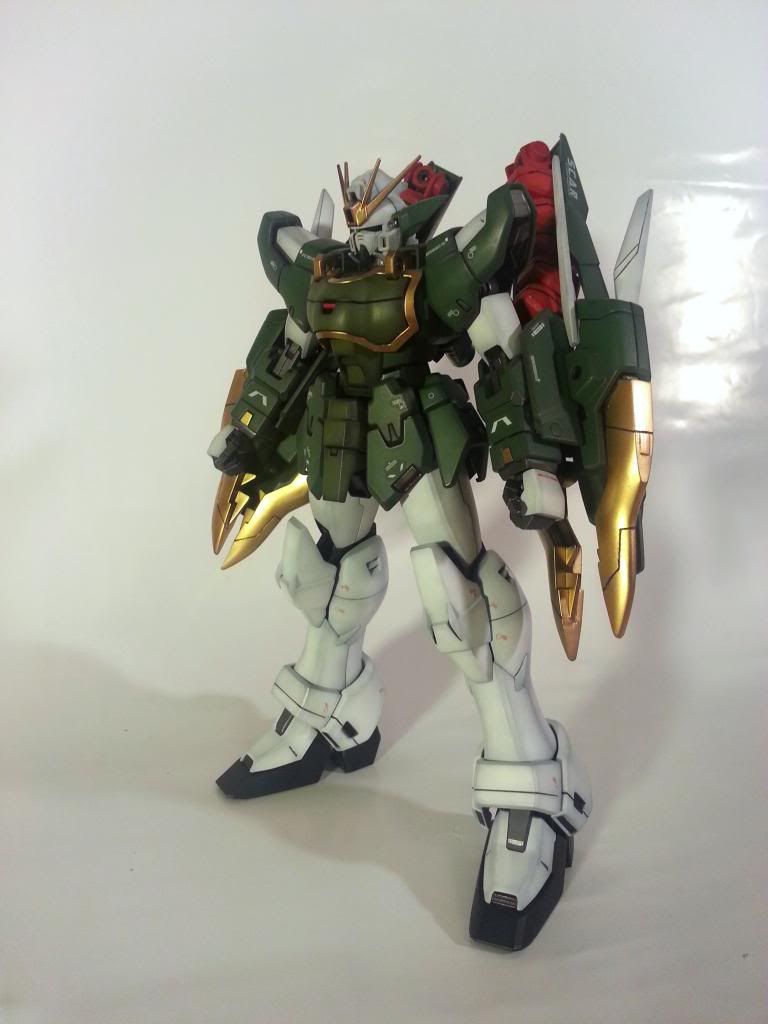
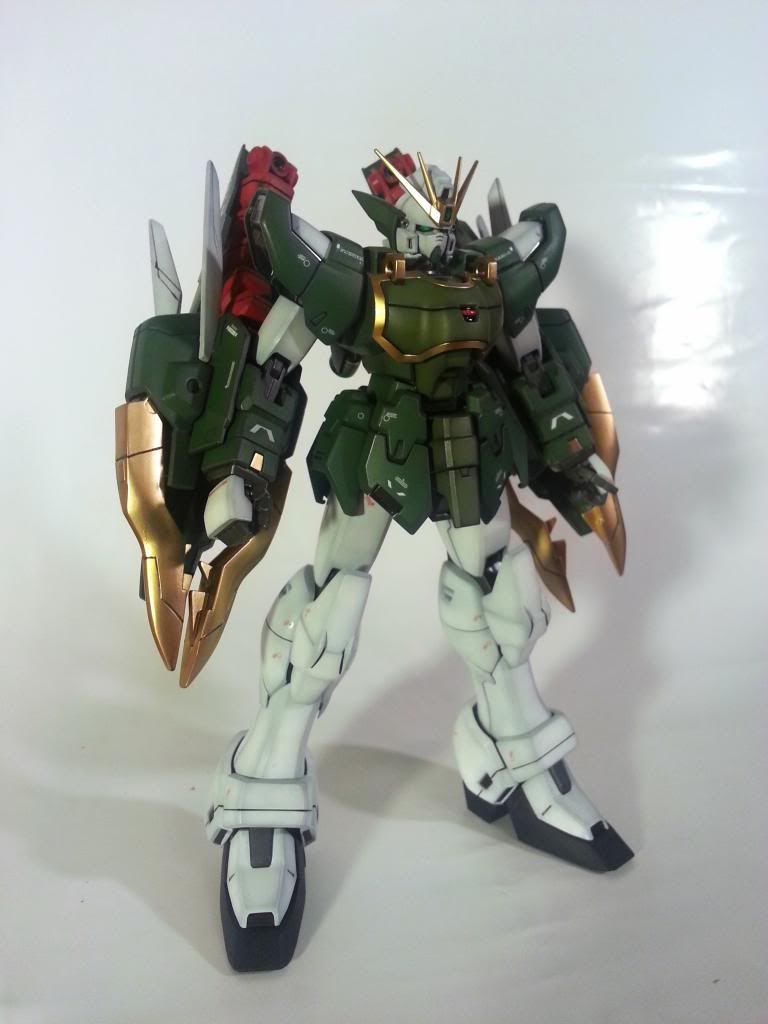
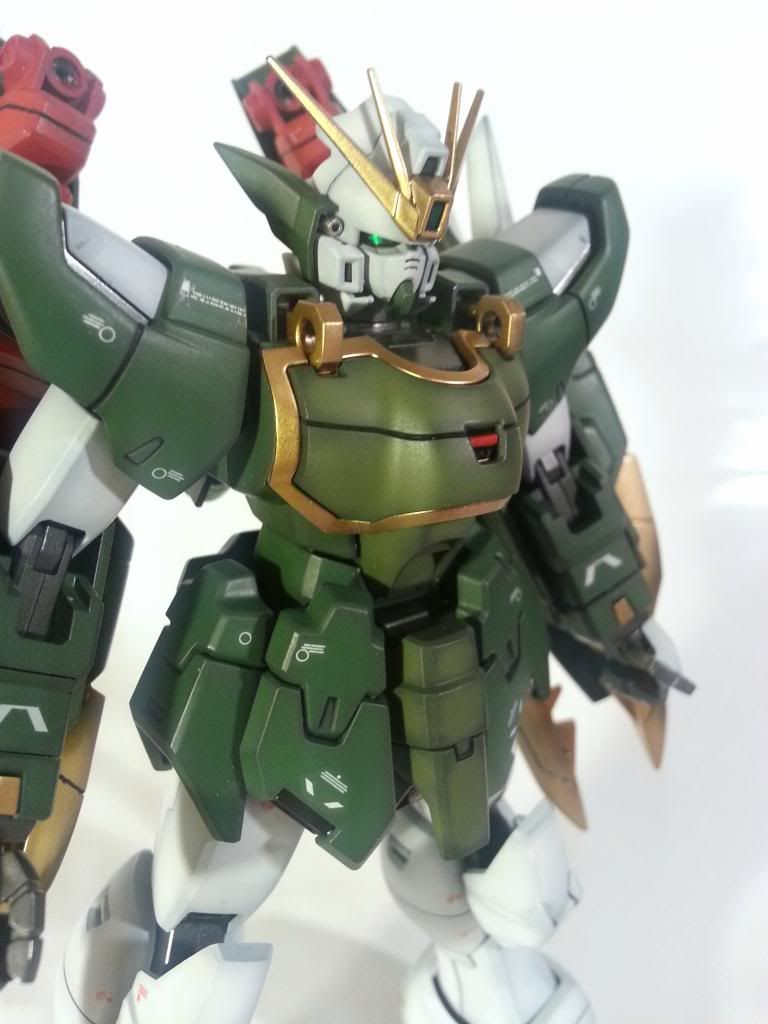
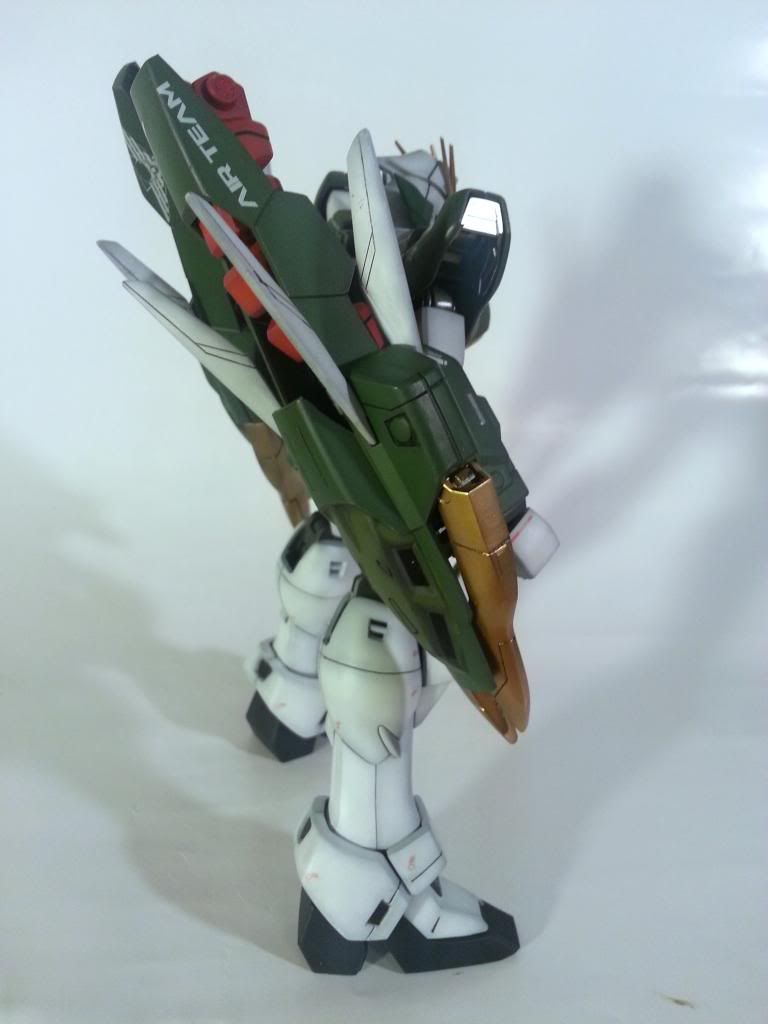
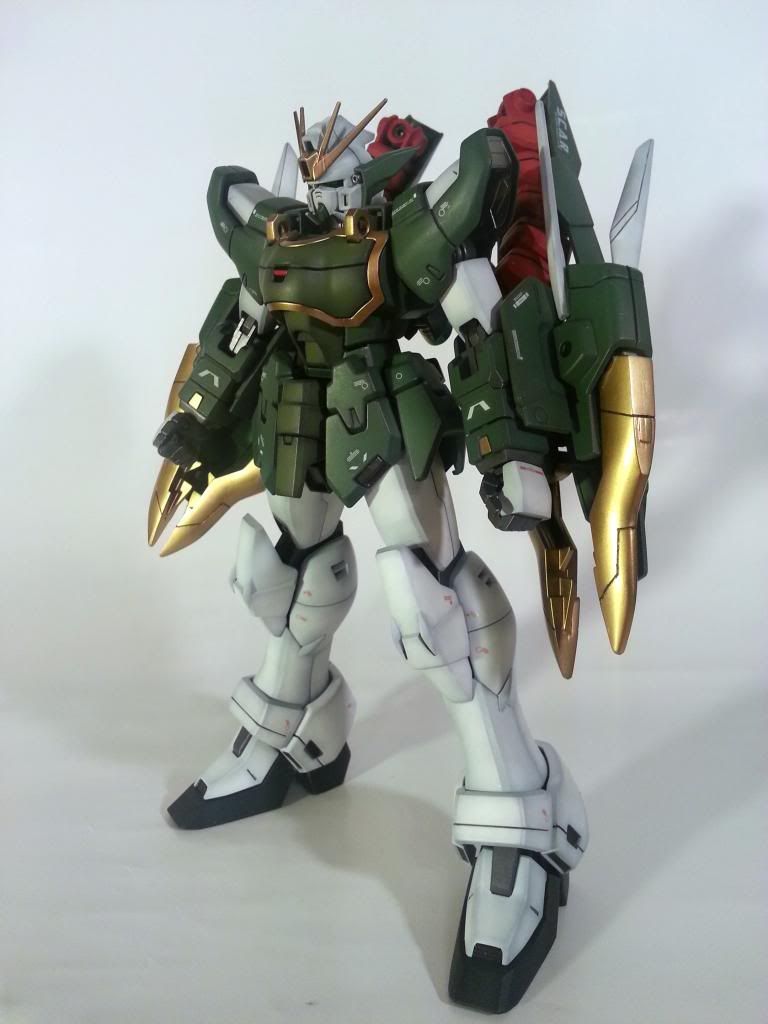
Hey Guys you probably can not believe it but.... I ACTUALLY FINISHED A KIT!!
I am really hapyy to have a new finished kit under my belt because its been far to long.
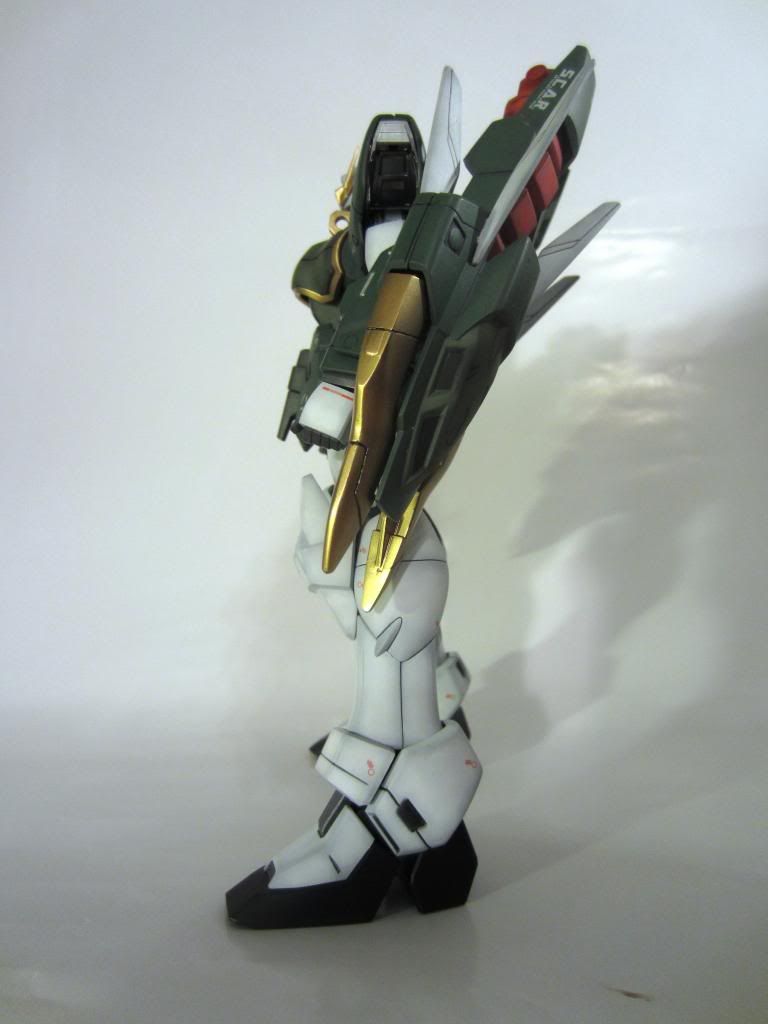
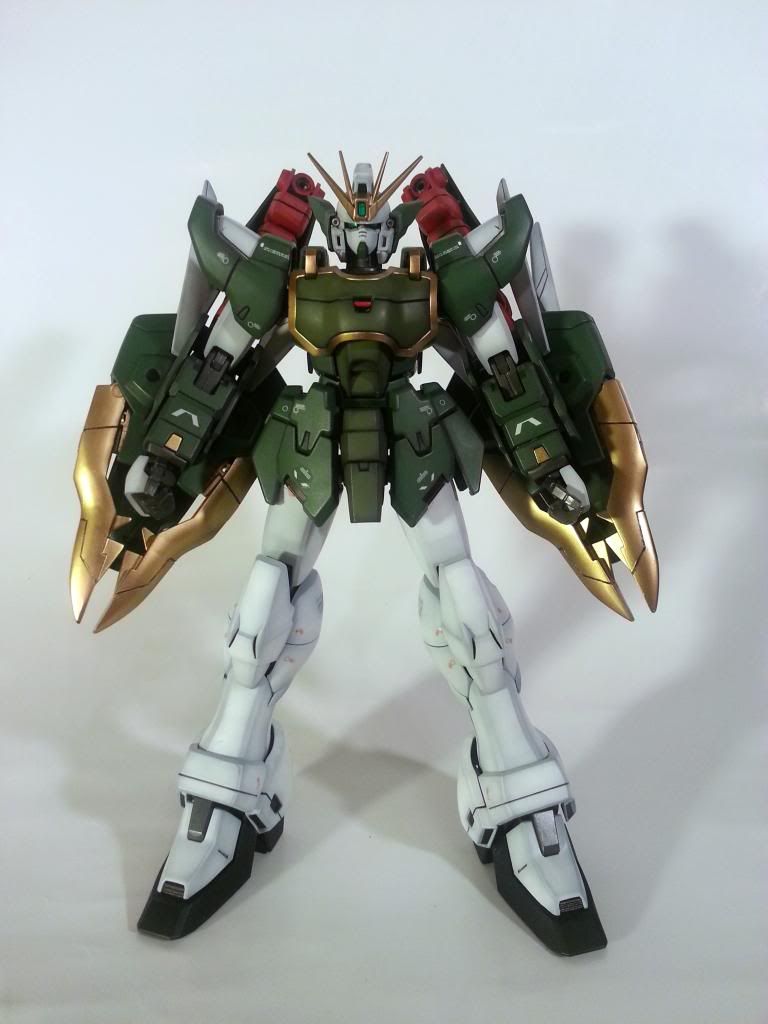
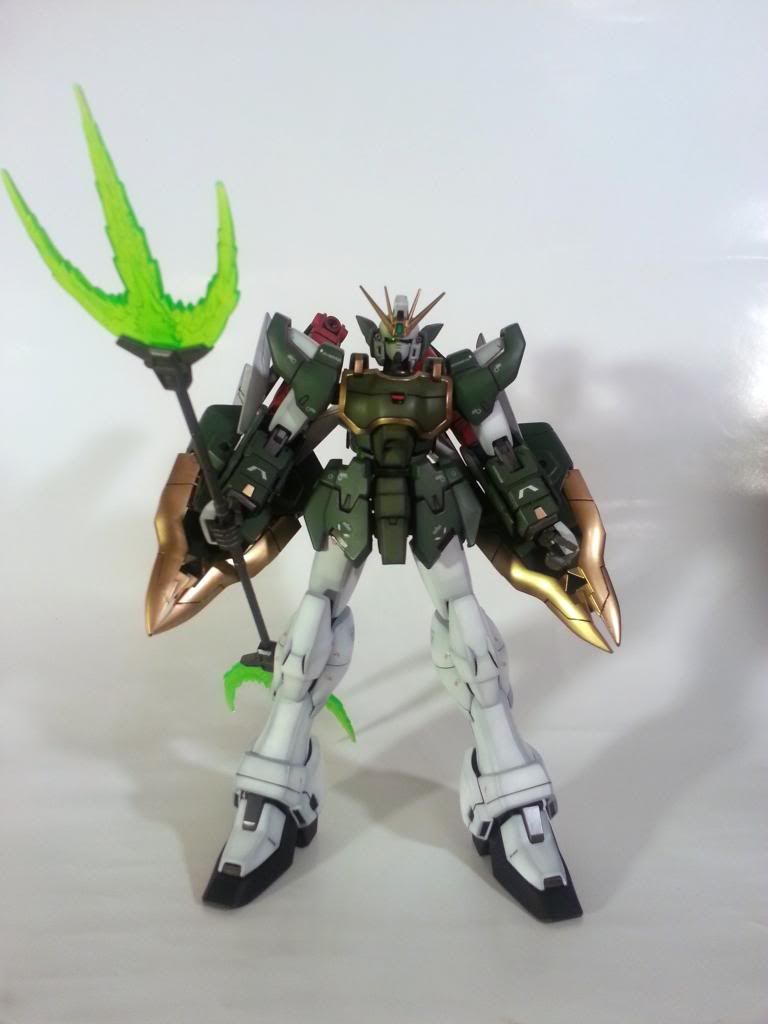
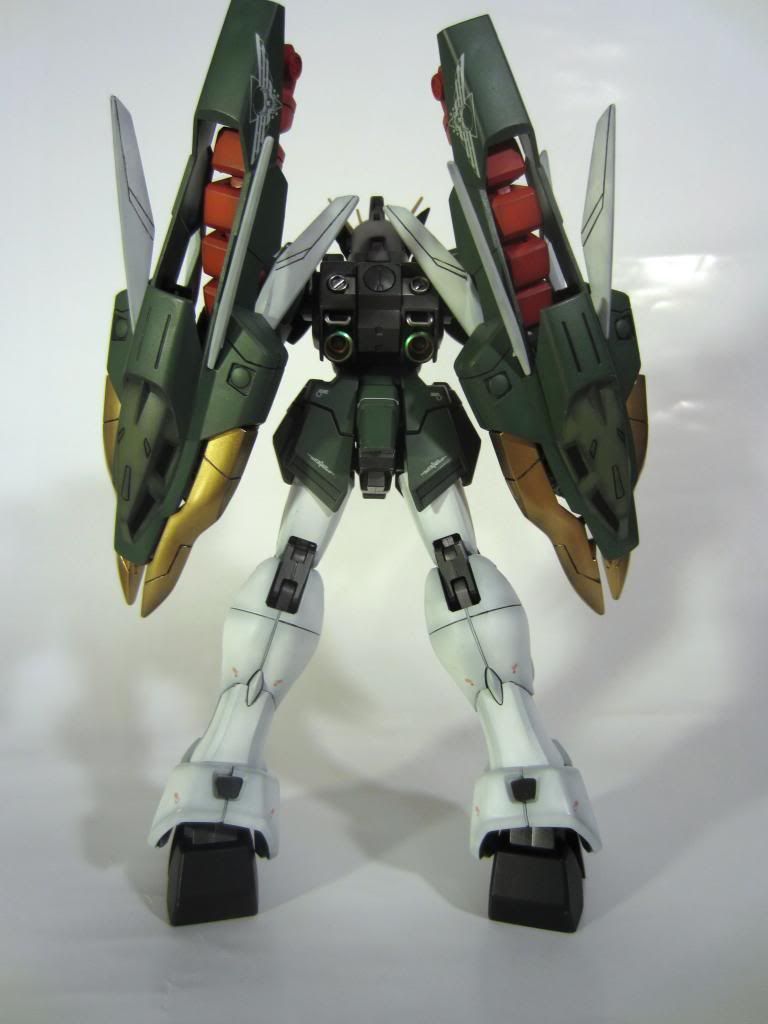
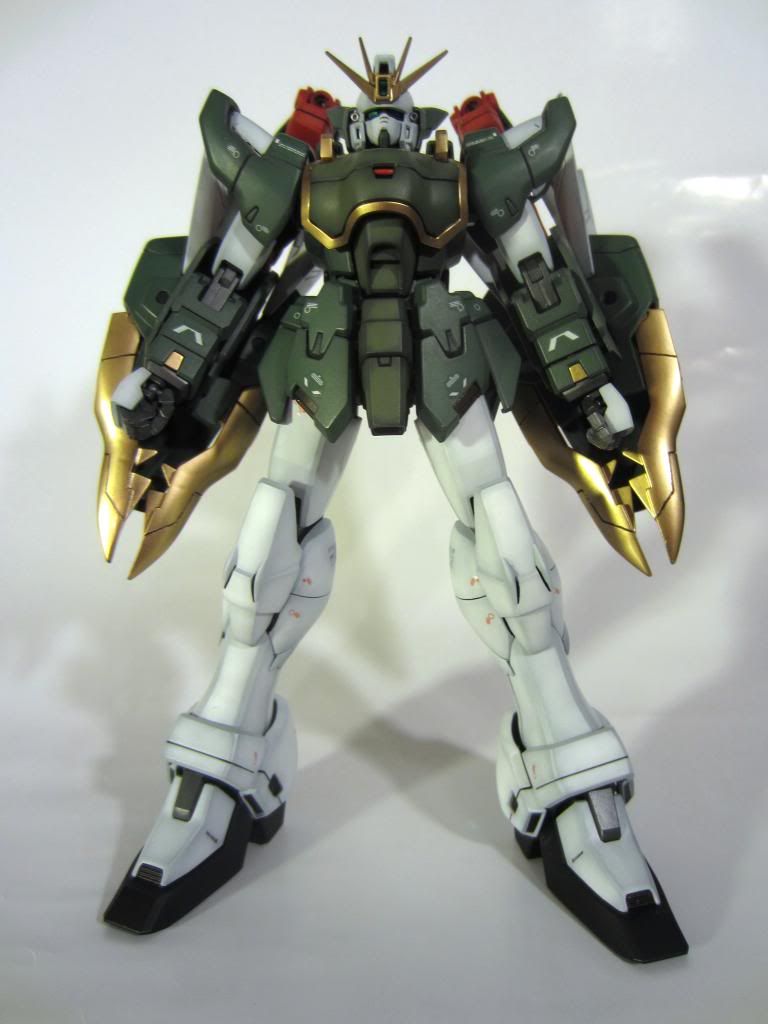
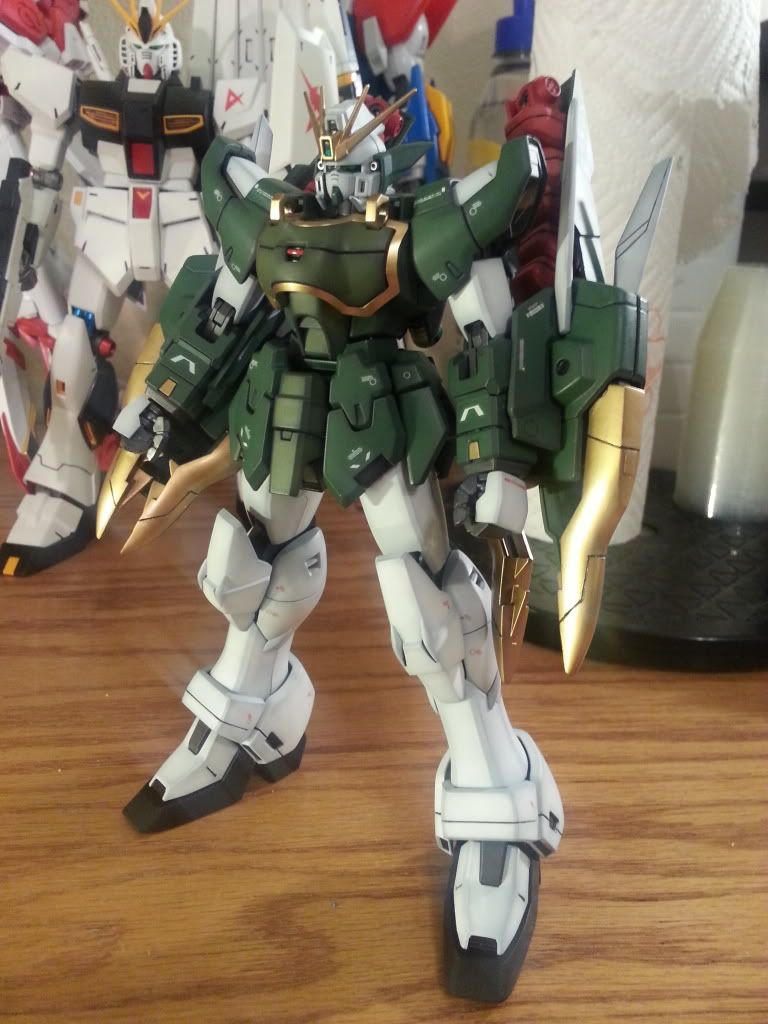
I am overall really happy with the way this thing turned out. There were some battles but for the most part this thing went without a hitch. my decal work could use some improving but for my first time i guess i am fine with them. I was really worried that my shading on the darker green pieces was to light for people to see it but i like the way it looks in person and thats all that really matters i guess and from the people that have seen it they can see it so good enough for me. The lighter green turned out pretty good pretty easy to see while staying subtle. Now the white was kinda tricky. Being a noob, I used gloss white on paint so it was really tough to control my shading as compared to the previous colors so i actually had to spray a light coat over all the white pieces after the i did all my shading and the end result isn't perfect but it was good enough for me to not wanna do it over.
Paints used
MR.Colors-
White
Black
Light green (I used this one for the dark green )
Dark green ( I used this for the light green lol)
Light gray
Dark gray
Alclad-
Pale Gold
Exhaust manifold (i bet no one even sees these parts)
Chrome
Clear green
Gloss koat
Flat koat
Model masters-
Titanium
Metal sealer
Gloss Black (Enamel Wash)
Hi there guys and gals. I have been away from my blog for a LONG time but i have been getting things done but sadly not on the MK.II. I have been working on two projects. One is the 1/100 MG Freedom Resin conversion that i am doing for a friend and fellow mecha modeler. The second one is my entry in the Gunpla Grand Prix over at Plamocon.com
If you are not already, you should go join the Grand Prix. Lots of prizes to be had in two separate categories, Modded and OOB. contest started on February 1st and is running till April 15th so you still have time.
Alright so here comes pictures to what i have been doing
This is a great conversion!!
Originally by MOProject i believe but this particular one is the Super G recast and is still a joy to put together with minimal cleanup just a few sink marks and usual resin flaws.
I will be sad to see this kit go when it is finished because the proportions are BEAUTIFUL but i will be glad to see it go to someone that will appreciate it.
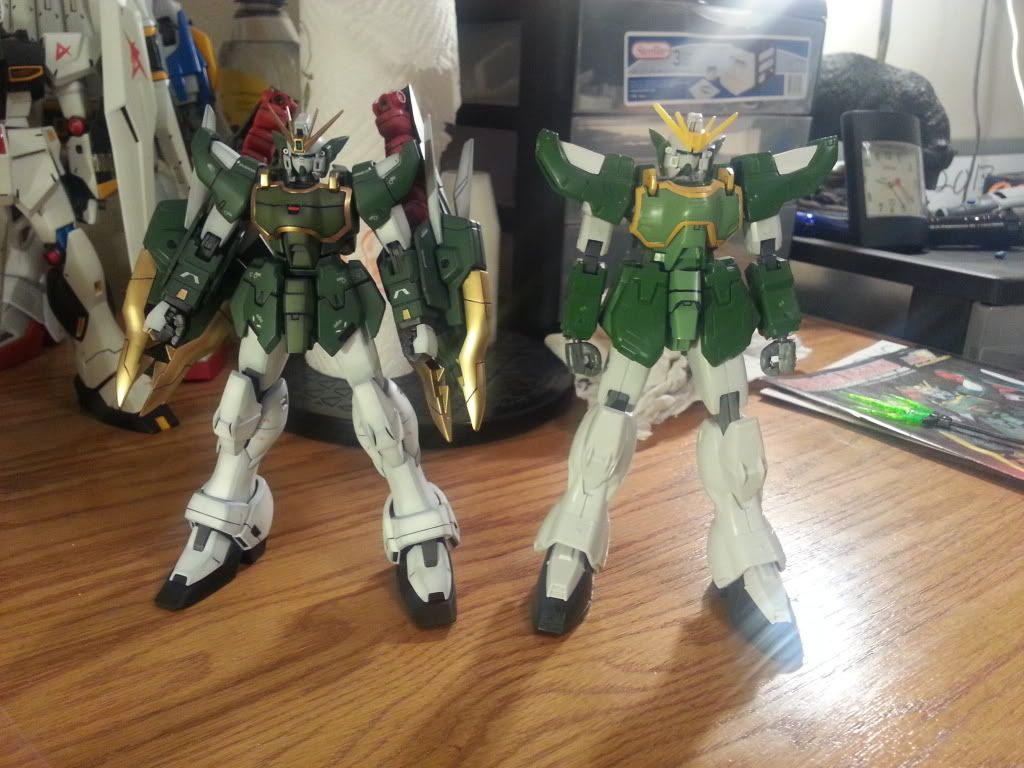
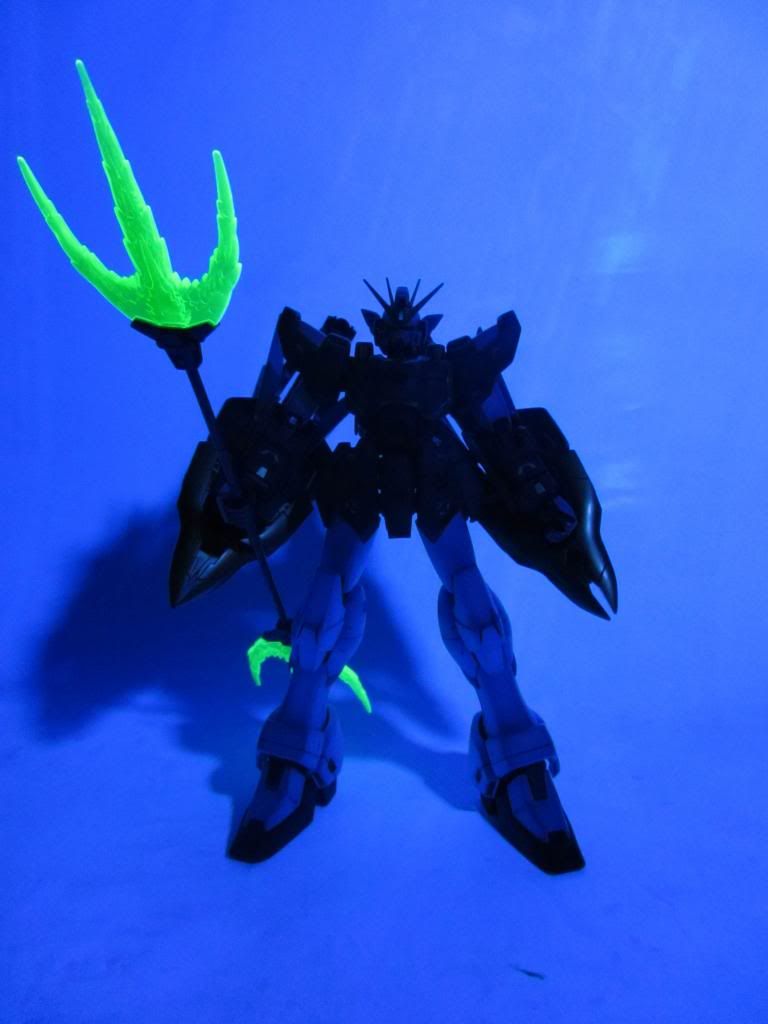
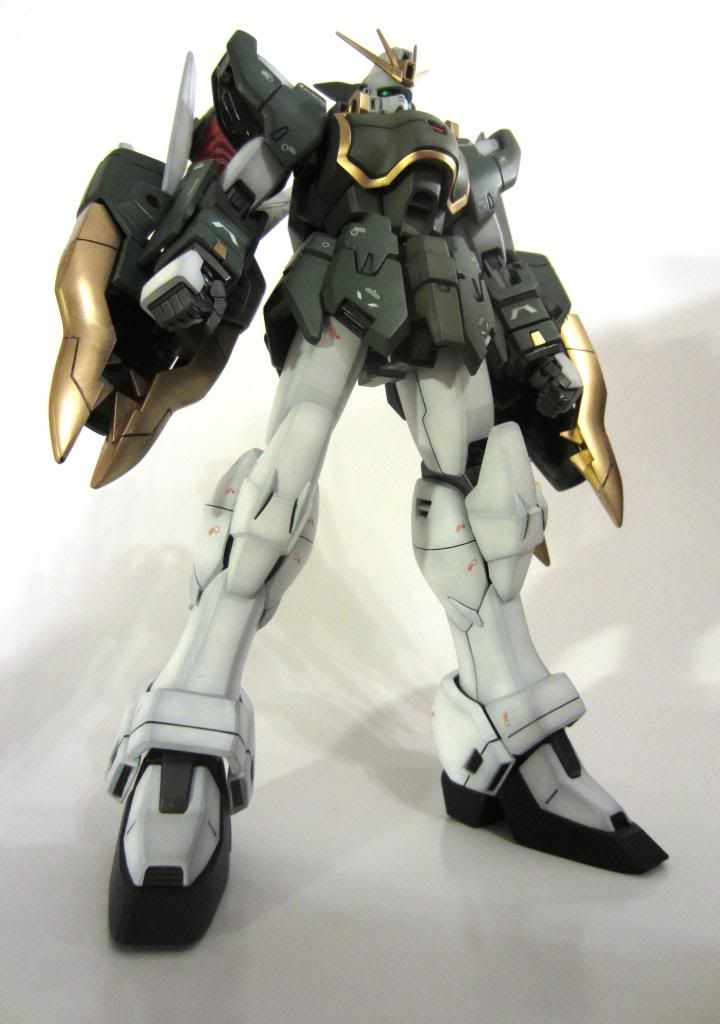
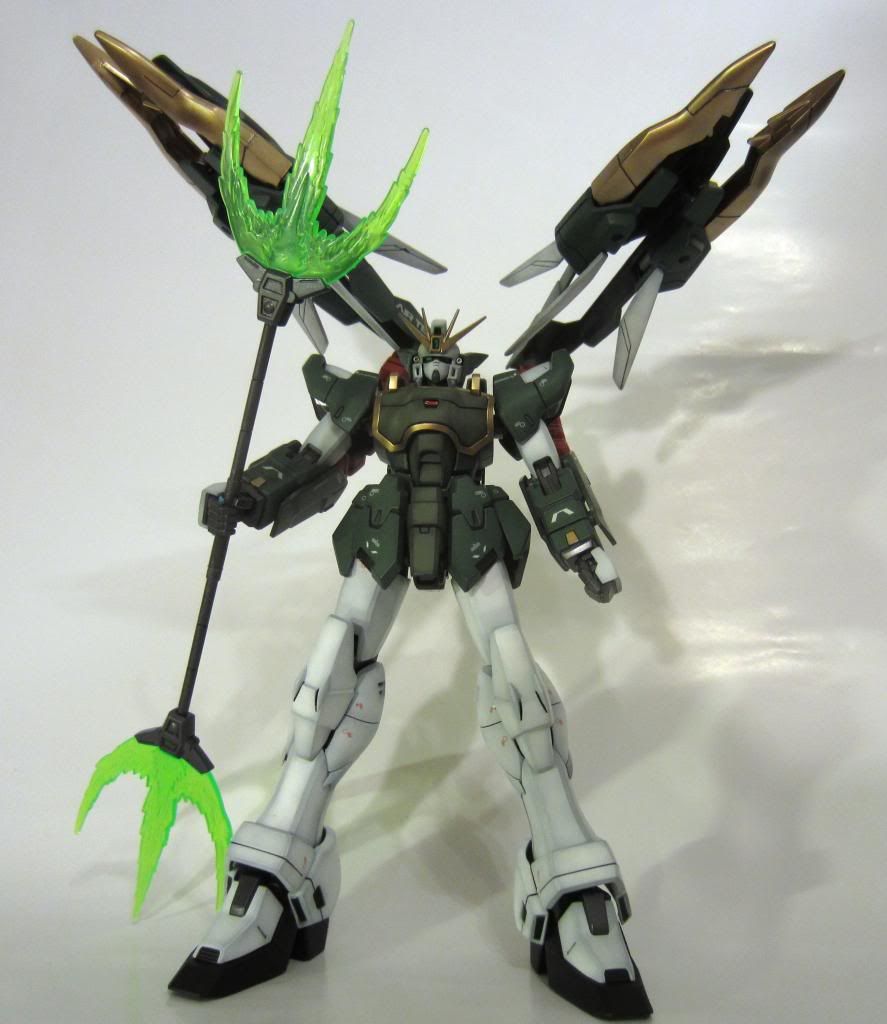
Next is my own personal project: MG Shenlong to Nataku conversion
As you can see they are virtually identical besides colors obviously. After further inspecting i was happy to see that the MG Shenlong is just begging to be converted with minimal work. I proceeded to then just match a drill bit (5/32) up to the existing hole in the HG 1/100 Nataku's arm where the dragon claw things attach.
Well the first arm was a success!!
As you can see on the second arm while i was drilling the hole the armor piece decided to split in two. i decided to finish drilling the hole through the frame and then use my dremel to then clear out the armor to match the frame.
I could not get the armor piece to become sturdy enough to be a stand alone part like its counterpart so i decided to just cement it to the frame.
It will not be any issue, painting should not be a problem so i call it a win.
Well here they are all mounted up. I am pretty pleased with the way they turned out but still got some cleanup to do on the fangs to get rid of all there flaws.
Next came disassembly of the entire kit and cleaning up the fangs.
Started out with removing the pot holes stamped into the the plastic.. why are they there? idk
Filled with Tamiya white putty
Then sanded away....
Removed Seam line from the yellow pinsers
Removed seams from red extension piece. these were a pain due to the fact you have to do them one at a time as you go.
My technique for removing seam lines is to put cement on each piece were they meet then going over the entire seam once i have joined them together then squeeze them together real tight.
Rescribing panel lines....
And waalaa..
Next was the weapon. I wanted to remove the seam line on the weapon but to do so i would have to make the beams removable through the top since the way they normally go in is by pegging them between two pieces that then snap together. So i decided to cut the pegs off of the beam effect and put magnets in the beam and then insert magnets where the peg would normally go into the hole.
Double stacked two 1/16 magnets in the beam. they fit perfectly flush in there.
Next dropped the magnet into the peg hole and put some putty over the top to hold it down since super glue just was not cuttin it.
And BOOM!! holds perfectly and can be removed with ease..
Thats where i am at currently. The Nataku is #1 on my priority list due to the fact of the April 15th deadline. Painting will start as soon as my paint arrives.